
I’m becoming more and more interested in home automation, and I’ve been slowly replacing the bulbs at home with Philips Hue Bulbs. Whilst the Hue Bulbs look like standard bulbs, they have a host of wizardry inside. They use a something called ‘ZigBee Light Link’ – which in simple terms is a WiFi network for bulbs to build a wireless network within your home. As you add more bulbs, the bigger the network becomes.
Getting Started
To start your Philips Hue Lighting setup, you need a Hue Bridge – one of these –

This little box connects to your Broadband router via a network cable, and the mains via a small adaptor. You can either buy one on its own, or as part of a Starter Kit (which includes two bulbs). Once this is plugged in and powered up, you can ‘talk’ to it with the Hue App available on Android and iOS. The App detects the Bridge and will then allow you to add bulbs to your system.

The bulbs come in several different varieties. You can get White bulbs which replace standard bulbs, or White AND Colour bulbs, that allow you to use them as standard bulbs, or set them to any colour. The white bulbs are cheaper, and are a good start – you can get a BC (B22) version for £14.95 (which is a standard UK fitting), or an ES (E27) bulb for £14.95. These a 9W LED Bulbs, so they are extremely energy-efficient and will last for years. They are all dimmable too (with the Hue app / switches). You can even replace GU10 spotlight bulbs with Philips Hue versions.

Simple to Install
Installing a Hue Bulb is essentially the same as changing a lightbulb. It’s worth noting down the six character serial number written on it before putting it in the fitting. Once you’ve put the Hue bulb in, and switched it on, you can add it your bridge – the App should find it automatically. If it doesn’t, you can type in the 6 character serial number and it will find it immediately. The bulb will flash to signify that it’s been found and paired with the Bridge. You can then give it a name like ‘Reading Lamp’ and then add it to a ‘Room’. So within the Hue App – this is what our living room looks like –

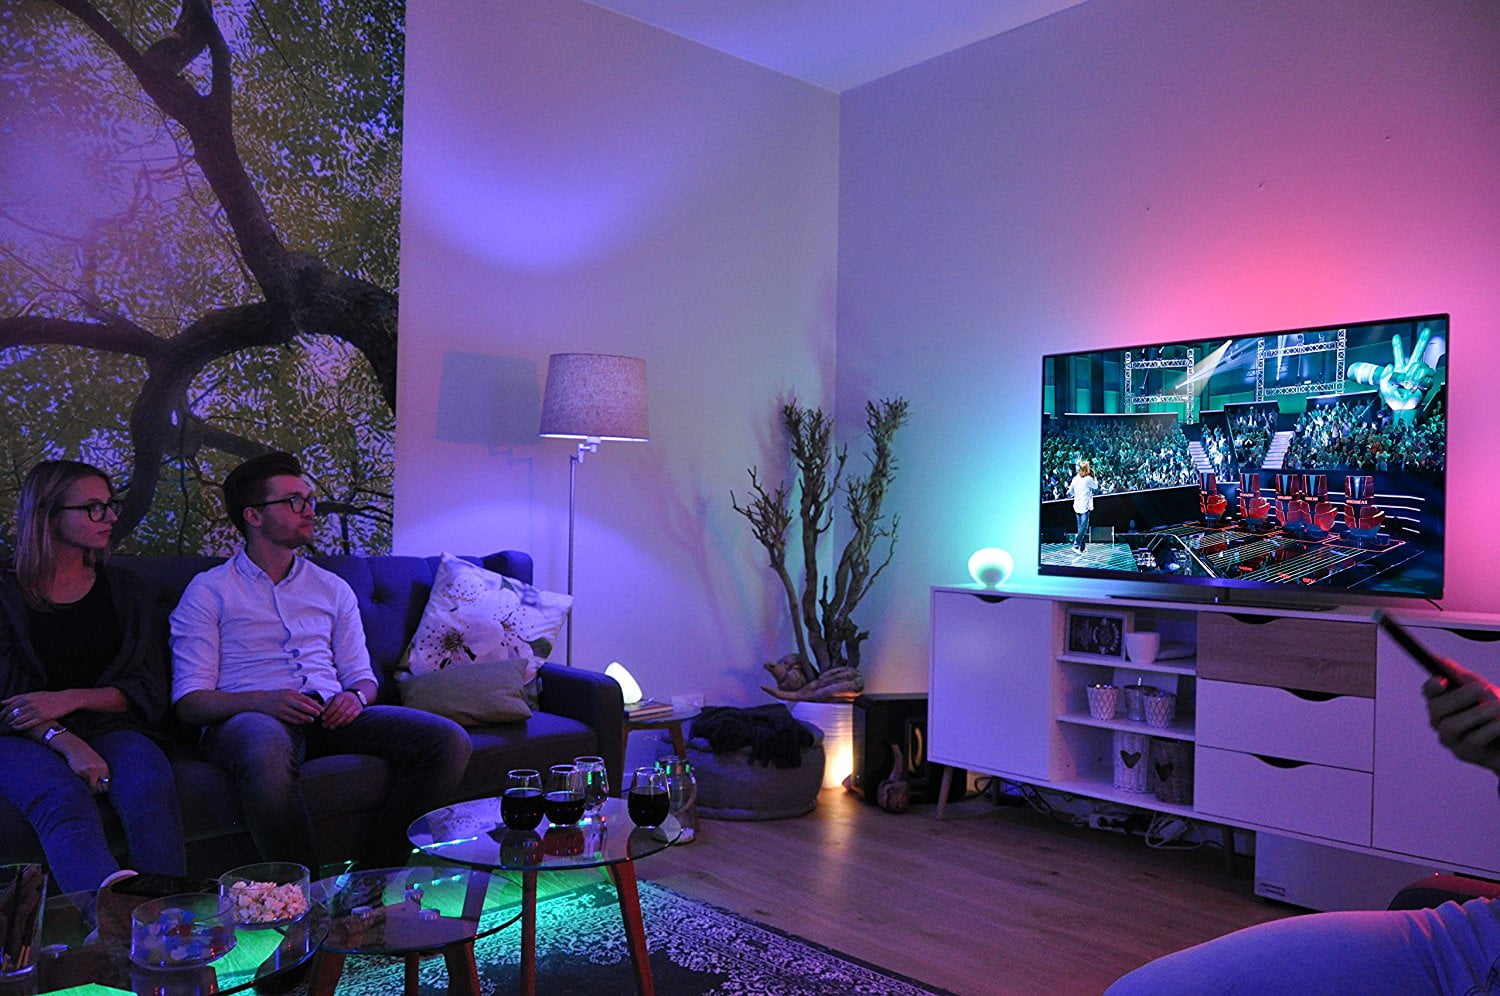
Each light can be dimmed individually – The Small Lamp and Floor Lamp are set to maximum, and the Light Strip is set to 50%. You can slide your finger across the screen to adjust the brightness. Right at the top of the screen is the ‘Room’ switch, which can turn every light in the room on or off instantly. When you turn a light on, it fades up, then when you switch the light off, it fades down.
I’ve mentioned the ‘Lightstrips‘ and these are flipping awesome – they are 2m sticky strips with tiny little lights inside. These can be made whatever colour you like, trimmed down to size, or extended. Then tucked away behind your TV unit, under the sofa, under shelves, under kitchen units – wherever to give you mood lighting.
You can change the colour of the Lightstrips, or coloured bulbs with a swish of a finger within the App.
Scenes
You can create ‘Scenes’ in each room – these are best described as ‘presets’. So a ‘Late Night’ Scene might have the lamps set at 50%, the main light off, and the lightstrip set to a dark blue. You could have a ‘Movie’ scene where all the lights are dimmed to 5%. You can switch to a ‘Scene’ within the app, or with Hue Switches.
Switches
Obviously you won’t always have your phone with you, so, a more ‘traditional’ way of turning lights on and off would be handy. Thankfully Philips Hue have thought of a few options. The ‘Wireless Lighting Dimmer Switch‘ is the cheapest of them. You won’t need to get an electrician to wire it in, it attaches to the wall with the sticky strips, or can be screwed in.

You can also remove the ‘switch’ and use it as a remote control for the lights, it’s all powered by a little watch battery. The remote control has a magnet it, so it snaps back into the wall mounted base with ease.

The two central buttons Brighten and Dim the lights, and the ‘On’ button can be set to whatever you’d like it to do. You can set it two switch between scenes – so one press might turn all lights on, a second might set it to a dimmed setting. Or if it’s in a bedroom, the first press might be a really dim scene, and the second press a little brighter. You can have multiple switches in each room. For example in the bedroom, you could have one on the wall, and another on your bedside table. The more expensive ‘Hue Tap‘ switch is an alternative, this isn’t specifically for wall mounting, more for being on the side, in a room.
Wait – there’s more!
There’s no point in having ‘Smart’ lights, if they aren’t actually all that much smarter than existing lights. Philips Hue lights can work with your phone’s location. So, if you leave home and leave a light on, the Hue lights can be set to switch off as you move away from home. Or, if you’re coming home after dark, you can set it so certain lights switch on as you arrive.
It can also link with an Amazon Echo, so you can control lights with your voice.
“Alexa, switch off the Living Room lights”
“Alexa, switch on Bedtime in the Bedroom”
Etc.
Pure geeky bliss
If you’ve got any Nest devices, you can link your Hue lights to it. So, if your Nest Smoke Alarm detects a Fire, all the lights in the house will flash to attract your attention. Your Nest account can also pretend that you’re Home, when you’re not – it will randomly turn on and off lights to mimic someone being at home. You can also control your lights through the Hue website, and if you’re feeling REALLY nerdy there are IFTTT recipes for Philips Hue devices too.
The beauty of Philips Hue is, once you’ve got the Bridge, you can add bulbs, switches and strips as you go. You don’t need a massive outlay – although be warned, Hue stuff is addictive.


Do you Hue? Comment below!
